Did I mentioned Pinterest in my last post...you know that lovely little site full of inspiration for anything and everything your little DIY'ers heart could desire? In the midst of my hundreds of unfinished projects I've embarked on yet another one...thanks to Pinterest.
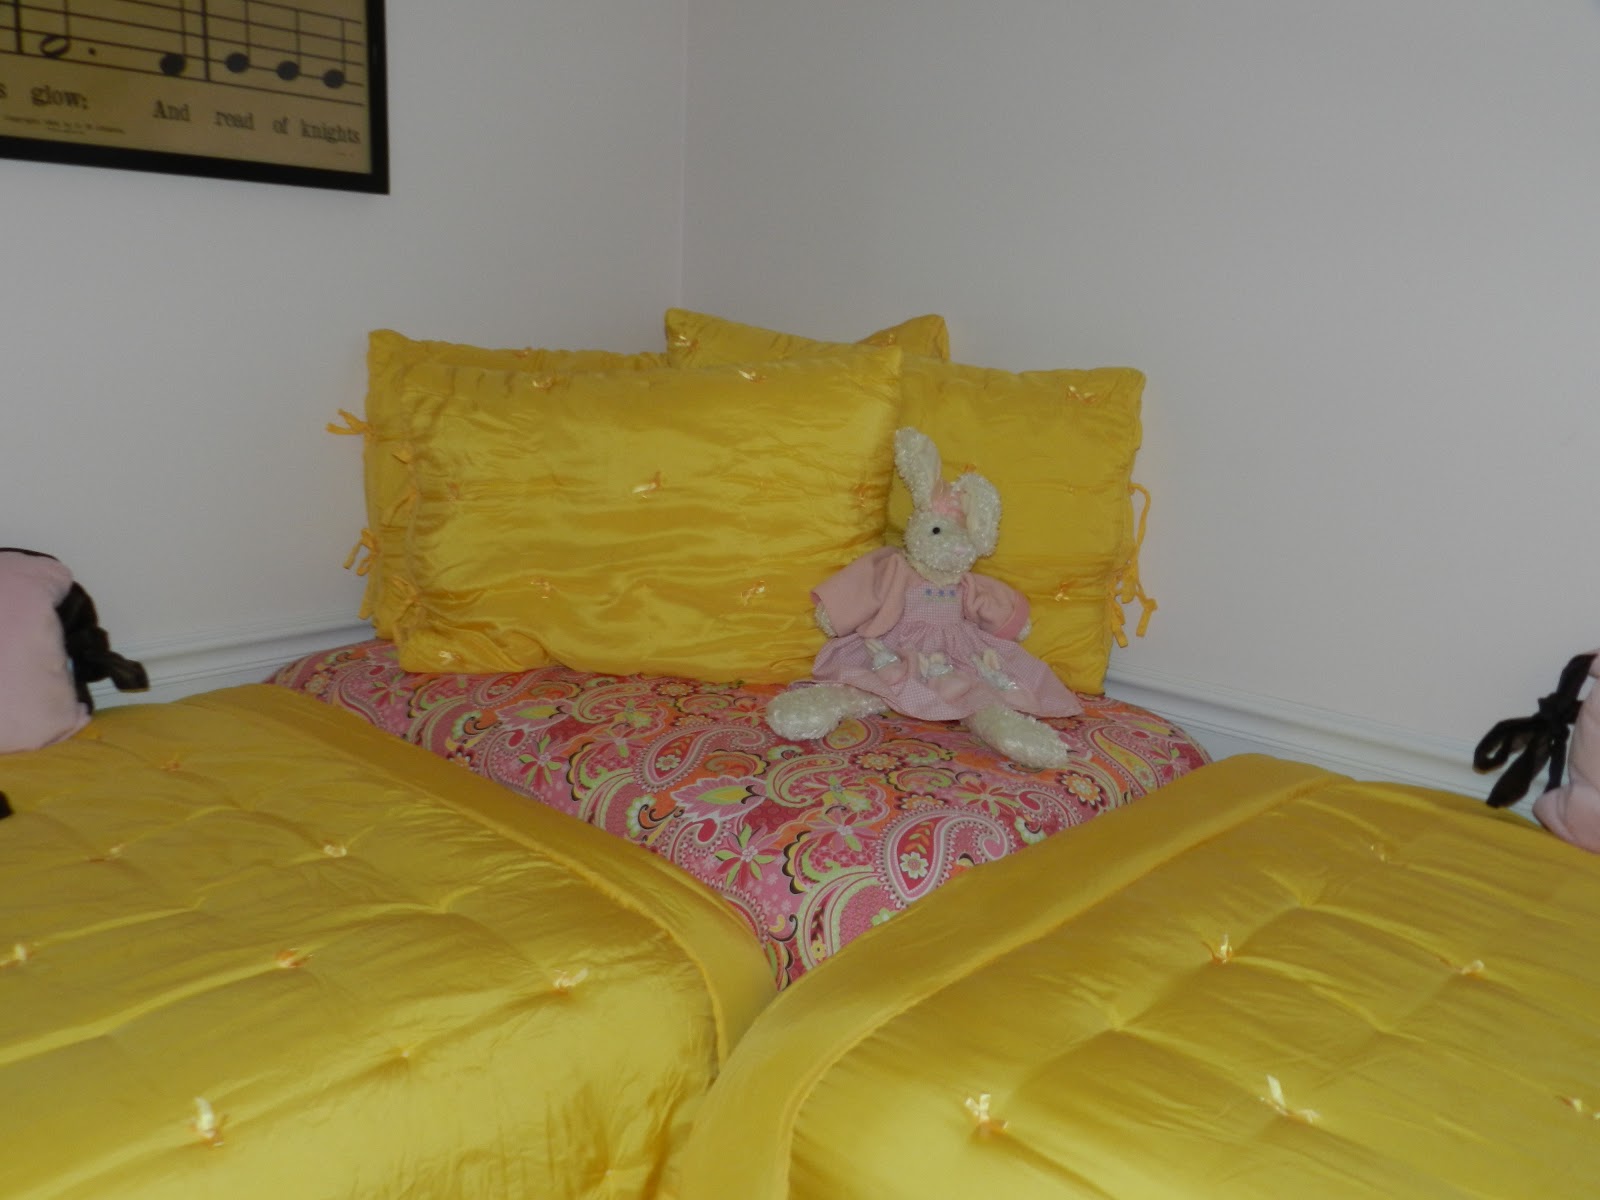
I've been looking for something inspiring that will help me find my vision for my now 2-toddler bedroom. We've moved Swiper out of her crib and into a big girl bed. We've transformed the Interrogators single room into a room for two.We scrambled last weekend to move the girls into the room together just to test it out for a week before spending any blood, sweat & tears (not to mention money) on their little dream room. I had a vision for two beautiful twin sleigh beds in white adorned with the beautiful yellow silk bedding I snagged on clearance at Pottery Barn (yes...I know they are children BUT...this silk bedding is machine washable THANK GOODNESS - although the reason only one bed is shown in the yellow bedding is because the other one has already fallen victim to a chocolate milk fiasco and is currently in the wash). Those twin sleigh beds I so coveted turned out to be not so wallet friendly so I ditched that idea and turned to Pinterest. I found EXACTLY what I knew would be a project I could accomplish with my own little touches added in. Our 2 toddler room started out like this:

The project I was aiming for looked like this (x 2):
Thank you Gabrielle Blair of
design mom for this inspiration. The project plans were originally for a toddler sized bed. I already had 2 twin mattresses and a set of box springs from a king bed we just replaced so a rework of the original plans had to take place. In case you are box spring ignorant like myself a king mattress is most of the time accompanied by 2 box springs that look to be the same size as a twin mattress but...they ARE NOT. The twin mattress is slightly smaller. No matter for me, I'm using what I've got and will figure out how to deal with the difference as I go (remember, I'm not much of a 'planner').
Taking measurements of the box spring (since it is the larger of the two) I made my materials list and sent hubby on his way to the local hardware store. I asked that he get as much of the wood cut down as possible to prevent a lot of measuring and cutting at home....we do have those 3 little ones always under foot. Material list looked like this:
3/8" thick plywood in sheets large enough to get the following cuts made:
4pc x 79.5" Long x 10" Tall (these are the 'side' walls on the bed above)
4pc x 37.5" Long x 10" Tall (these are the head and foot boards on the bed above)
2"x2" wood in lengths large enough to get the following cuts made:
4pc x 78" Long (these are the inside supports for the box spring)
My original tool list looked like this:
Drill
Drill Bits
Wood Glue
Screws (whatever size I had around the house)
Nails (whatever size I had around the house)
Hammer
Measuring Tape
He came home with this:
4pc x 79.5" Long x 12" Tall
4pc x 36.5" Long x 12" Tall
4pc 2"x2" wood 8' Long each
To my original tool list I now *happily add:
Mitre Saw
Circular Saw
Dremel Tool (more on this tool later)
Saw Horses (a new but badly needed purchase)
*happily because if you recall in prior postings I love my POWER TOOLS!!!!!


Apparently accountants aren't firm believers in making sure they get what they paid for before they leave the store - go figure. So - working with what I had I changed the plans. Instead of 10" high sides we would now be 12" high sides. About the head and foot board....well, I was a bit screwed - the panels he brought back were too short. Improvising on the fly we found some old fiber board shelving that had just been taken down (12" x 48") and cut it to the proper length and those are now going to be the head and foot boards of the bed.

Measuring the side panels and side rails - a few quick mitre saw cuts and we're all set to assemble. Assembly of the sides turned out to be much more cumbersome than the original plans led me to think...hindsight we would have used a much thicker and sturdier grade of plywood. No turning back now.

We screwed the side rails in from the inside of the bed - opposite of what the instructions told us to do. It seemed easier this way.
Here's where using what you have can sometimes add to the tools and time needed to complete a simple project. The screws I had on hand were a good inch too long - GREAT opportunity for me to pull out the handy dandy Dremel Tool and use the metal cutting bit!

Even hubby got in on this action - check out those sparks as we grind off the ends of the screws that were once too long. Now they are flush with the side panels - which will soon be covered with batting and fabric.
And here is where this story ends for today. Side panels, head and foot panels all squared up. Rather than using a plywood panel for support as the original plans advise we're going for 2"x4" boards fashioned into slats. And here is where day 1 ends...I've got dinner plans so we'll pick this back up tomorrow. Ending day photo below. Next posting will hopefully be the finished product.


 So - this would be about the point I thought I'd be done but no...I just couldn't live with the weird corner. Because of the extra height with the side rails, extra length of the box springs AND short mattress the little 'bed side table' looked a bit 'dinky' for my corner. I had extra fabric, some old cushions off of a couch that fell apart years ago - leftover lumber from yesterday hmmmm....ottoman anyone???


